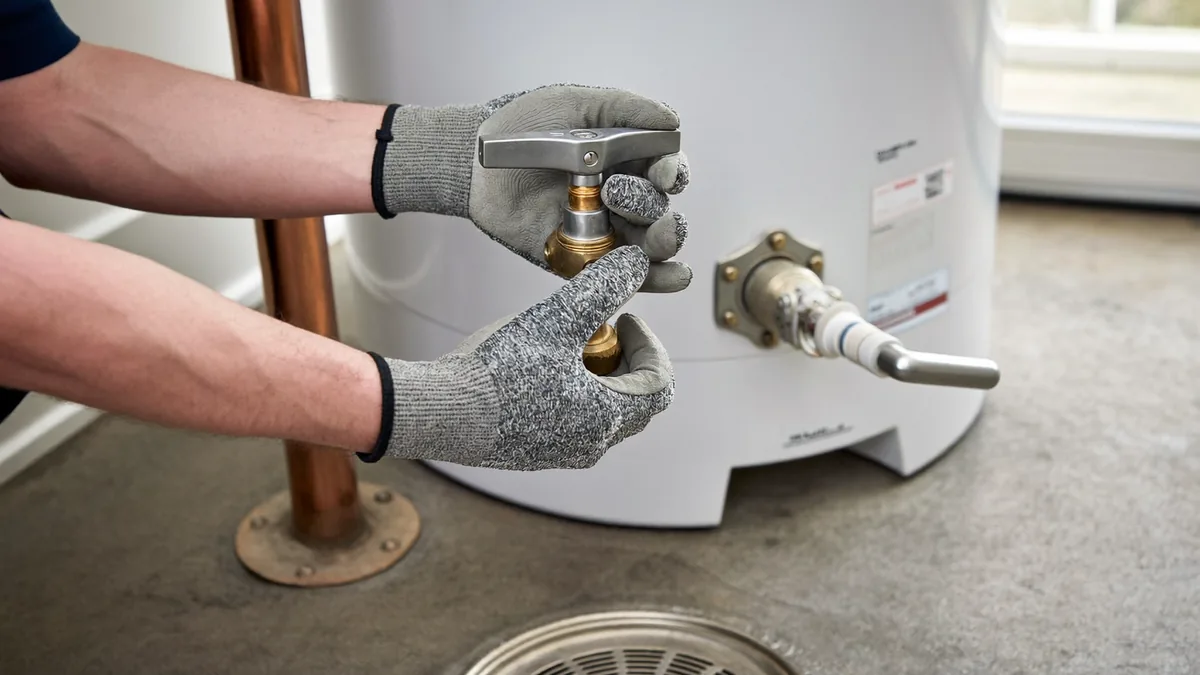
A water heater leaking usually means water is escaping from a fitting, the temperature and pressure (T&P) relief valve, the drain valve, or the tank itself. Shut off the power or gas and the cold-water supply first, then protect the floor. Fittings and valves are often repairable, while a leak from the tank body generally means replacement.
First steps when your water heater is leaking
Before you hunt for the source, make the area safe. Electricity, gas and a tank full of hot water can all cause serious harm, so work through these steps in order.
Safety first: If you smell gas, do not operate switches or appliances. Leave the home and call the gas utility or 911 from outside. For an electric unit, turn off the breaker and confirm with a voltage tester that power is off before you touch any wiring. Hot water can scald: according to the CPSC, third-degree burns can occur after about 5 minutes at 120°F, so let the water cool before you drain the tank or work on its valves.
- Cut the power or fuel. For an electric heater, switch off the breaker that feeds it. For a gas heater, set the gas control to OFF or PILOT as the label on the unit directs.
- Close the cold-water inlet. Find the valve on the cold pipe feeding the top of the tank and turn it clockwise until it stops.
- Relieve pressure. Open a hot faucet nearby. This lets air into the system and helps the tank drain more easily if you need to drain it.
- Protect the floor. Move rugs, boxes and stored items. Lay towels or set a bucket under the leak, and use a wet vac on standing water.
- Check the damage. Look at walls, ceilings below, nearby flooring and baseboards. Take photos before you clean up, which helps if you file an insurance claim.
How to find where your water heater is leaking
Dry the outside of the heater and the floor completely with towels. Then watch where new water appears. Water runs downhill and can travel along pipes, so the first wet spot you see may not be the real source. Check the parts below in order.
Fittings and pipe connections on top
Look at the hot and cold pipe connections, the nipples and the unions at the top of the tank. A drip that shows up at a joint, with mineral crust or dried residue around it, usually comes from a loose or worn connection. Tighten it gently, because overtightening can crack fittings. If the thread itself is damaged, the fitting needs replacement.
Temperature and pressure (T&P) relief valve
The T&P valve is on the side or top of the tank, and a pipe runs from it toward the floor. Water dripping from the valve or from the end of its discharge pipe means the valve is releasing pressure or heat. A plugged or undersized discharge pipe, or a thermostat set too high, can cause this, so check those first. According to the DOE, a setting of 120°F is considered safe for most of the population.
The discharge pipe rules are set in the International Plumbing Code 504.6 and International Residential Code P2804.6.1 (2021 editions), as summarized by the International Code Council. The pipe must drain by gravity to an air gap in the same room, end no more than 6 inches above the floor or a waste receptor, and be no smaller than the valve outlet. It cannot be threaded, trapped or fitted with valves or tees, and the valve itself is rated for 100 psi at 180°F. A T&P valve must never be capped or plugged.
Drain valve
The drain valve sits low on the side of the tank, usually near the bottom. Water leaking from its body, its cap or its threads usually points to the valve itself. Sediment can keep the valve from closing fully, so try closing it firmly and running a little water through it to flush debris. A cracked or worn valve should be replaced rather than patched.
Condensation
Sometimes the tank looks wet without leaking. Humid basements, cold water entering the tank and gas burners during startup can all cause the outside of the tank or the pipes to sweat. Dry the tank completely, then check it again after normal household use. Moisture that returns only on cold surfaces, with no drip, is condensation rather than a leak.
Tank bottom and seams
Water pooling under the tank, rust-colored streaks down the sides, or a damp spot at the base that keeps coming back usually means the tank is failing. Check the seams of the outer jacket too. Water that appears there, with no connection or valve nearby, is a strong sign of a tank leak.
| Where the water shows | Most likely source | Usually fixable? |
|---|---|---|
| Top fittings or pipe joints | Loose or worn connection | Often, by tightening or replacing a fitting |
| Relief valve or its discharge pipe | T&P valve, pressure, or a blocked pipe | Often, once the cause is found |
| Drain valve | Valve body, cap or debris | Often, by replacing the valve |
| Damp outside, dries and stays dry | Condensation | Not a leak |
| Water from the bottom or tank seams | Failed tank | Usually replacement |
Which water heater leaks can be fixed and which mean replacement
A leak from a fitting, the drain valve or the T&P valve is usually a repair. A leak from the tank body, the bottom or a seam is usually not, because the tank cannot be sealed reliably once it has failed.
- Usually fixable: loose or worn fittings, a failing drain valve, a T&P valve that drips after you have confirmed the thermostat and discharge pipe are fine, and a leak caused by a cold-water connection.
- Usually replacement: water from the tank wall, bottom or seams, rust-through, or repeated leaks after you have repaired the fittings and valves.
Age matters when you decide. According to the DOE, most storage (tank) water heaters last 10 to 15 years, while tankless water heaters can last more than 20 years. A tank that is near or past that range and is leaking from the body should be replaced rather than repaired. If you replace a gas heater, units made after July 1, 2003 (30, 40 and 50 gallon tank models) are built to a flammable vapor ignition resistant (FVIR) standard, according to the CPSC.
When to call a professional
Call a qualified plumber or heating technician when any of these apply:
- The leak comes from the tank body, the bottom or a seam.
- The T&P valve keeps dripping after you have checked the thermostat and discharge pipe.
- You cannot shut off the cold-water supply or the valves do not close fully.
- The gas connections or the wiring look damaged, or you are unsure how the heater is wired.
- Water has reached the structure, cabinets or subfloor.
When you hire someone to repair or replace the heater, get at least two written quotes that list the same work. Check the contractor's license with the state licensing board where licensing applies. Ask who pulls the permit, since requirements vary by state and city, so check with your local building department. Ask what is included: haul-away of the old unit, any code upgrades, and whether they register the warranty for you.
How to prevent a water heater leak
- Set the thermostat to 120°F. The DOE calls this safe for most people, and it reduces pressure and heat stress on the tank and valves.
- Keep the discharge pipe open and clear. Never cap or plug the T&P valve, and check that the pipe still drains toward the floor.
- Flush the tank and check the drain valve on a regular basis, following the owner's manual, to reduce sediment that can damage valves.
- Look at the connections every few months. Catch a slow drip at a fitting before it stains the floor.
- Keep flammable products away. Never store gasoline or solvents near a gas water heater.
- Install carbon monoxide alarms. The CPSC recommends them on every level of the home and outside sleeping areas, which matters for gas units.
Frequently asked questions
Can I keep using a water heater that is leaking a little?
A small drip from a fitting can sometimes wait while you arrange a repair, but only if you keep the cold-water supply closed and the area dry. Do not run the heater if the leak comes from the tank itself, because a failing tank can release a large amount of water. Shut off the power or gas first, and watch the spot closely until a repair is made.
Is the water around my water heater always a leak?
No. Condensation can form on the outside of a tank, cold pipes or a gas heater during startup, especially in humid rooms. Dry the area completely, then check it again after normal use. If the moisture returns and dripping starts, or you see puddles under the tank, treat it as a leak and follow the steps above.
Why is my T&P valve dripping, and what should I do?
A dripping T&P valve can mean excess pressure or heat in the tank, or a valve that is failing. Check the thermostat, which should be set to 120°F, and make sure the discharge pipe is open and drains properly. If the valve keeps dripping after those checks, have a qualified plumber evaluate the tank and valve rather than trying to seal the valve yourself.
How old does a water heater have to be before a leak means replacement?
According to the DOE, most storage water heaters last 10 to 15 years. A leak from the tank body is usually a replacement decision at any age, but in a unit near or past that range, a fitting or valve leak is also a sign the whole system is wearing out. Compare the cost of repair with the age and condition of the heater before deciding.
Can I cap the discharge pipe to stop the relief valve from dripping?
No. The T&P valve must never be capped or plugged, because it is the safety device that releases pressure and heat if the tank overheats. Capping the pipe or the valve can hide a dangerous condition. Find the cause of the drip, which is often the thermostat setting or a blocked pipe, and correct it.