Tankless water heater maintenance mostly comes down to three jobs: flushing mineral scale out of the heat exchanger, cleaning the cold water inlet filter, and confirming that the exhaust and combustion air vent is clear. Follow the manufacturer's manual for timing, and call a professional when gas or electrical work is needed.
Why tankless water heater maintenance matters
A tankless unit heats water only when you open a tap, so it has no tank where sediment settles. Its heat exchanger, however, is a narrow passage for water, and hard water leaves mineral scale, mostly calcium and magnesium, on the inside surfaces. As scale builds, the unit has to work harder to heat the same water, and flow at your fixtures can drop.
According to the U.S. Department of Energy, tankless water heaters can last more than 20 years, while most storage tank water heaters last 10 to 15 years. Keeping scale under control is one of the most direct ways to protect that service life.
Watch for these warning signs: hot water that weakens over time, temperature swings at the tap, the unit shutting off during use, a rumbling or popping sound, or a new error code. A clogged inlet filter or a faulty sensor can cause some of the same symptoms, so check the filter and vent before assuming the heat exchanger is the problem.
How often to flush and descale
There is no single interval that fits every home. Many manufacturers recommend flushing at least once a year, and homes with hard water often need it more often. Your manual is the authority for your specific unit, including the approved descaling solution and how long to circulate it.
Keep a simple log with the date of each flush, the filter cleaning, and any error codes. If flow starts to fall below what you expect, compare your household demand with the unit's rated Maximum GPM, which is the maximum gallons per minute of hot water the unit can supply. Running several fixtures at once can exceed that rating even when the unit is clean.
Tools and parts for a descaling flush
Most homeowners descale with a pump kit connected to the unit's service valves. Gather the following before you start:
- Isolation (service) valves on the hot and cold lines. If your installation lacks them, a professional can add them.
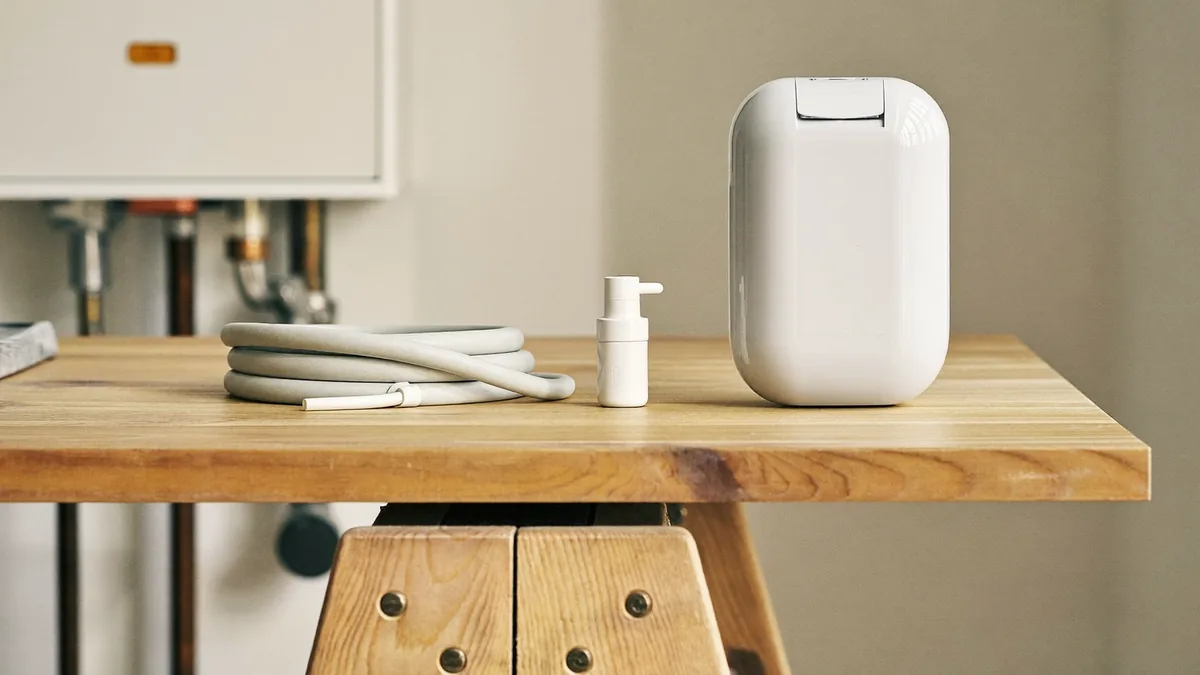
- A utility pump kit with hoses and fittings sized for the unit's service connections.
- A bucket for the descaling solution and a second bucket for rinse water.
- The descaling solution the manufacturer approves. Do not substitute harsh cleaners that the manual does not name.
- Gloves, eye protection, towels, and a flashlight.
Step-by-step descaling with isolation valves and a pump kit
Safety first: For electric units, switch off the breaker and verify that the unit has no power before you open any panel. After service is restored, check hot water at a tap. The U.S. Department of Energy recommends 120°F for most households, and the CPSC notes that third-degree burns can occur after about 2 seconds at 150°F and after about 5 minutes at 120°F.
- Read the manual and confirm the approved solution, the service port layout, and the circulation time.
- Turn off the unit using the manual's procedure. For gas units, set the control to off and, if the manual calls for it, turn off the gas supply to the unit.
- Close the hot and cold isolation valves so house water does not enter the unit during the flush.
- Connect the pump kit so the solution flows from the bucket, through the unit, and back to the bucket. Most kits use the service valves for this loop.
- Fill the bucket with the approved solution, then run the pump for the time the manual specifies.
- Drain the solution, then rinse by circulating clean water through the same loop until the rinse water runs clear and the solution smell is gone.
- Disconnect the kit, open the isolation valves fully, and restore power or gas as the manual directs.
- Open a hot tap at a fixture and let the air clear. Check every connection for drips and confirm that flow has improved.
Cleaning the cold water inlet filter
The inlet filter is a small screen where the cold water line enters the unit. When it clogs with sediment, flow drops even if the heat exchanger is clean. Check it during every flush and whenever flow falls off suddenly.
- Close the cold water isolation valve and open a hot tap to relieve pressure.
- Place a towel and bucket under the filter housing, then unscrew it carefully.
- Remove the screen and rinse it under running water. Use a soft brush for stubborn debris.
- Inspect the O-ring or gasket. Replace it if it is cracked, flattened, or torn.
- Reinstall the screen and housing, then open the cold valve slowly and check for leaks.
Checking the vent and combustion air
Gas tankless units rely on a clear path for exhaust and, in many designs, fresh combustion air. Check the vent termination outside for debris, bird nests, leaves, or snow buildup. Look at the vent pipe joints for separation, cracks, or sagging, and confirm that nothing is stored against the unit or blocking its air openings.
If you smell gas, leave the home and call the gas utility or 911 from outside. The CPSC recommends carbon monoxide alarms on every level of the home and outside sleeping areas, and you should test them as part of routine checks.
If your system has a temperature and pressure relief valve with a discharge pipe, the 2021 International Plumbing Code (section 504.6) and International Residential Code (section P2804.6.1), as summarized by the International Code Council, require that the pipe not connect directly to the drainage system. It must end in an air gap in the same room, be no smaller than the valve outlet, drain by gravity, and end no more than 6 inches above the floor or a waste receptor. The valve must never be capped or plugged. Local rules vary, so check with your local building department.
Reading error codes and fault history
Error codes differ by manufacturer, so the manual for your model is the only reliable key. Write down the code, the date, and what the unit was doing when it appeared. A pattern of codes during heavy hot water use often points to flow restriction, while codes that appear at startup can point to ignition or gas supply problems.
- Look up the code in the manual and note the suggested first check.
- Clean the inlet filter and confirm the isolation valves are fully open.
- Check the vent for blockage and confirm power or gas is on.
- Restart the unit once using the manual's method. If the code returns, do not keep resetting it.
When to call a professional
Some tasks are best left to a licensed plumber or gas technician. Call for help if the unit shows a repeated error code after basic checks, if the heat exchanger shows leaks, if you need to add isolation valves, or if work involves gas lines, venting changes, or electrical components.
When you look for a pro, get at least two written quotes that list the same scope of work. Check the contractor's license with your state licensing board where licensing applies. Ask who pulls the permits and whether the work will be inspected. Ask what is included, such as haul-away of the old unit, code upgrades, and warranty registration.
Preventing scale and repeat problems
- Keep a maintenance log with the date of each flush, filter check, and error code.
- Test your water hardness or ask your local water utility for its hardness report, then choose a flush schedule that fits the result.
- Clear debris from the vent termination and keep the area around the unit free of stored items.
- Ask a pro whether a water treatment system suits your water, and whether it would reduce scale in your unit.
- Use the unit's Maximum GPM rating as a guide when you plan how many fixtures will run at once.
Frequently asked questions
How often should I flush a tankless water heater?
Follow the schedule in your manufacturer's manual. Many manufacturers recommend flushing at least once a year, and homes with hard water often need it more often. If you notice weaker hot water or new error codes between scheduled flushes, check the inlet filter and consider an earlier flush. Keep a log so you can see how quickly scale returns in your home.
Can I use vinegar to descale my tankless water heater?
Use only the descaling solution your manufacturer approves. Many manuals name specific solutions, and some warn against household products. A solution the manual does not allow can damage seals or the heat exchanger and may void warranty coverage. If you are unsure, ask the manufacturer or a licensed plumber before you pour anything into the unit.
What does an error code on my tankless water heater mean?
An error code is the unit's way of reporting a fault it detected. Codes are specific to each manufacturer, so look up the code in your manual. Common causes include flow restriction from scale or a clogged filter, a sensor fault, and ignition or gas supply problems. Note when the code appears, then complete the basic checks before resetting the unit.
Is descaling a tankless water heater a job I can do myself?
Many homeowners can handle a flush with isolation valves and a pump kit, as long as they follow the manual closely. Gas connections, venting changes, and electrical components are different. If you have any doubt about shutting down the unit, handling the solution safely, or reconnecting service, a licensed professional should do the work.
How long does a tankless water heater last?
According to the U.S. Department of Energy, tankless water heaters can last more than 20 years, while most storage tank water heaters last 10 to 15 years. Regular flushing, filter cleaning, and vent checks help a unit reach its expected life. Actual service life depends on water quality, how the unit is installed, and how well it is maintained.
Why is my hot water weak after cleaning the unit?
Check the isolation valves first. If either one is partly closed after the flush, flow will drop. Next, confirm the inlet filter is seated correctly and the screen is clean. Look for trapped air at the fixtures by running hot water until it runs steadily. If the weak flow continues, compare your demand with the unit's Maximum GPM rating and check for error codes.